A leaky gutter looks like a small problem, but the water it spills can stain your siding, rot your fascia boards, and wear away the soil around your foundation. The good news is that most leaks come from just two things. A failed joint or a small hole, and both are cheap to fix yourself in an afternoon.
Why Is My Gutter Leaking? 5 Common Causes
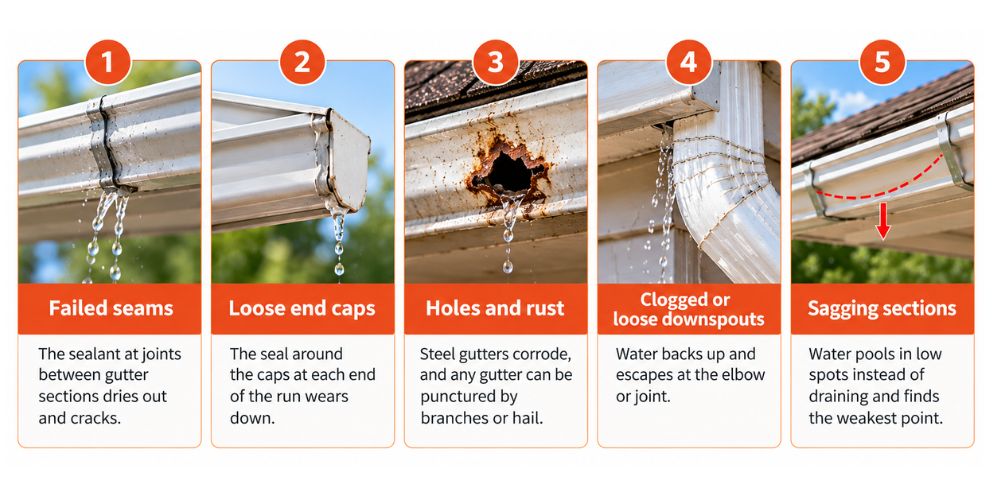 Before you grab the sealant, it helps to know what you’re dealing with:
- Failed seams: The sealant at joints between gutter sections dries out and cracks.
- Loose end caps: The seal around the caps at each end of the run wears down.
- Holes and rust: Steel gutters corrode, and any gutter can be punctured by branches or hail.
- Clogged or loose downspouts: Water backs up and escapes at the elbow or joint.
- Sagging sections: Water pools in low spots instead of draining and finds the weakest point.
Tools and Materials You’ll Need
- Ladder (and a helper to steady it)
- Work gloves and safety glasses
- Wire brush and abrasive pad
- Garden hose
- Plastic roofing cement or gutter sealant
- Outdoor silicone caulk
- Tin snips and metal flashing (for larger holes)
- Putty knife
- Level or tape measure
- Screwdriver or drill
How to Fix a Leaking Gutter in 7 Easy Steps
Step 1: Pinpoint Exactly Where the Gutter Is Leaking
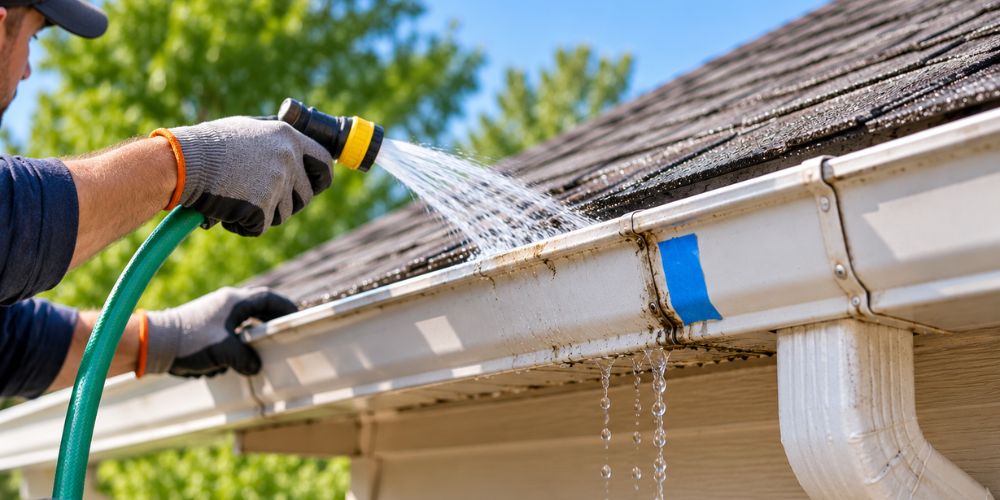 Clear out leaves and debris first. Then run a hose into the high end of the gutter and watch the whole length. Drips at seams, spray at end caps, or trickles from rust spots will show you where to work. Mark each trouble spot with tape or chalk.
Step 2: Clean and Prep the Damaged Area
The sealant won’t stick to dirt or flaking rust. Scrape off old sealant, scrub the area with a wire brush, rinse it, and let it dry completely. Finish by roughing the surface with an abrasive pad so the new material grips. Skipping this step is the number one reason patches fail.
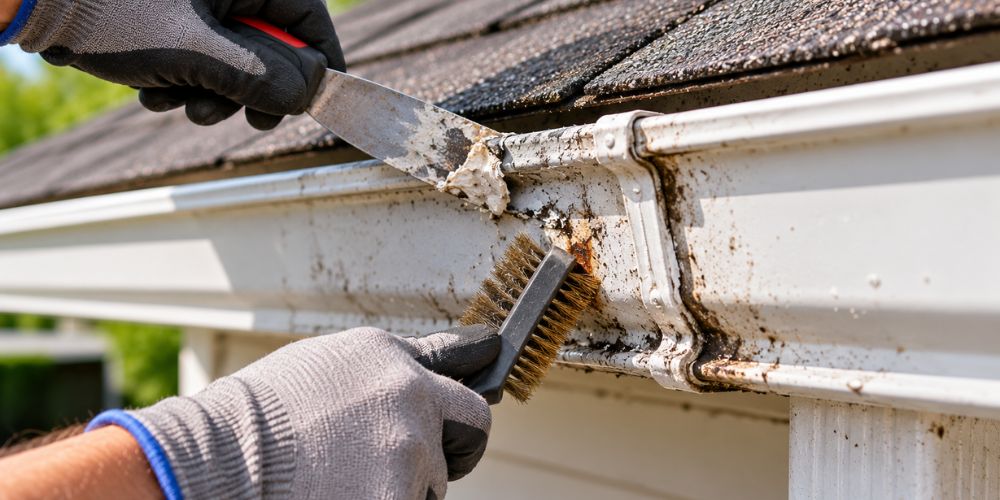
The sealant won’t stick to dirt or flaking rust. Scrape off old sealant, scrub the area with a wire brush, rinse it, and let it dry completely. Finish by roughing the surface with an abrasive pad so the new material grips. Skipping this step is the number one reason patches fail.
Step 3: Seal Small Holes and Leaky Seams
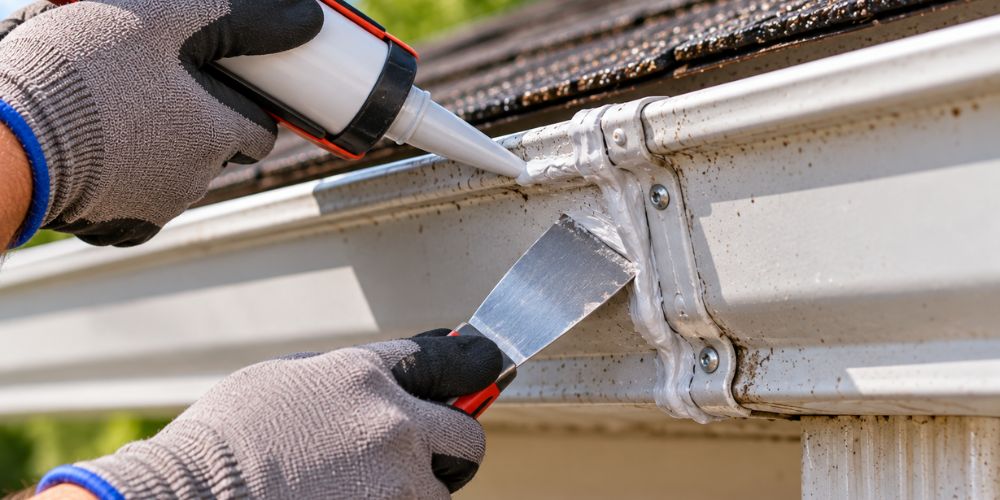 For seams and end caps, press a generous bead of gutter sealant into the joint and smooth it with a putty knife. For small holes and pinholes, fill them with roofing cement and level it with the surrounding surface.
Step 4: Patch Large Holes and Rusted-Out Sections
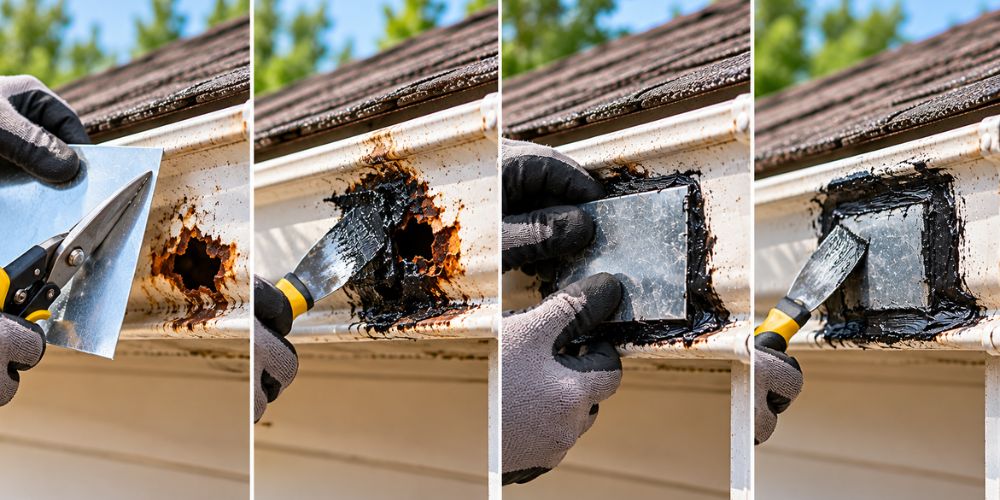 For holes bigger than a nail hole:
- Cut a patch from flashing using the same metal as your gutter, so the two don’t corrode each other.
- Make it larger than the damaged area.
- Spread roofing cement over the hole and press the patch into it.
- Cover the edges with more cement and feather them smooth so water flows freely.
If a section has multiple holes or heavy rust, replacing it is smarter than patching it.
If your gutters have extensive rust, recurring leaks, or multiple damaged sections, a patch may not be enough. Learn about the signs you need to replace your gutters to determine when replacement may be the better option.
Step 5: Inspect and Repair the Downspout
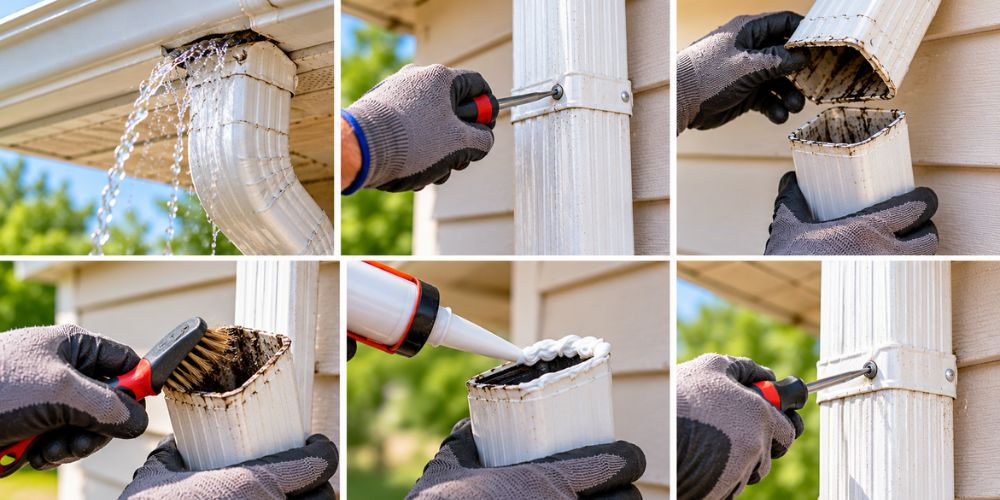 If water escapes where the gutter meets the downspout, you may have a clog rather than a bad seal, so flush it with a hose first. If the joints have come apart:
- Remove the screws at the loose joint.
- Separate the sections and scrub off old caulk.
- Apply a bead of silicone to one part of the joint.
- Reassemble and re-fasten.
Make sure the downspout discharges a few feet away from your foundation.
A clogged downspout can prevent water from draining properly and cause it to spill over gutter joints. Follow our guide on how to clear a clogged downspout to restore proper water flow.
Step 6: Check for Sagging and Fix the Slope
 A properly installed gutter drops about a quarter inch for every 10 feet toward the downspout. Check with a level or tape measure. If you find sagging spots, tighten or replace the hangers, and add extra ones where the gutter droops.
Sagging gutters can cause water to pool and leak through weak joints. If you notice uneven sections, read our guide on how to repair a sagging gutter for more tips on fixing the problem.
Step 7: Test Your Repair Before You Climb Down
 Let the sealant cure as the label directs, often around 24 hours. Then run water through the gutter again and watch each repaired spot. If it still drips, remove the weak patch and reapply, rather than layering new sealant over a bad bond.
How to Keep Your Gutters From Leaking Again
- Clean gutters at least twice a year, and after major storms if you have nearby trees.
- Check for cracked sealant, loose hangers, and early rust while you clean.
- Install gutter guards to reduce clogs year-round.
- Trim overhanging branches.
- Walk your home’s perimeter after rain to make sure water drains away from the foundation.
Gutter Repair Safety Tips
- Place your ladder on firm, level ground and always have someone hold it.
- Wear gloves, since cut gutter edges are sharp.
- Stay clear of power lines.
- Skip the DIY on steep roofs or multi-story homes and call a professional.
When to Call a Professional
DIY repairs suit small to moderate problems. Get professional help if large sections are warped or pulling away, the fascia behind the gutter is soft or rotting, you notice water damage inside the house, or the whole run needs to be re-pitched or replaced.
Final Thoughts
A tube of sealant and an hour or two can save you from costly repairs to your siding, landscaping, and foundation. Fix leaks as soon as you spot them, keep your gutters clean, and they’ll protect your home for many years.
Need Gutter Help in San Antonio? Call American Hill Country Gutters
Not comfortable on a ladder, or found damage bigger than a quick patch? American Hill Country Gutters is a veteran-owned San Antonio company with 18+ years of experience in gutter repair, seamless gutter installation, and gutter guards. Our gutters come with a 10-year warranty, and we offer 0% monthly interest financing and discounts for military veterans with ID.